How to Remove “I’m Not a Robot” Malware From a WordPress Website
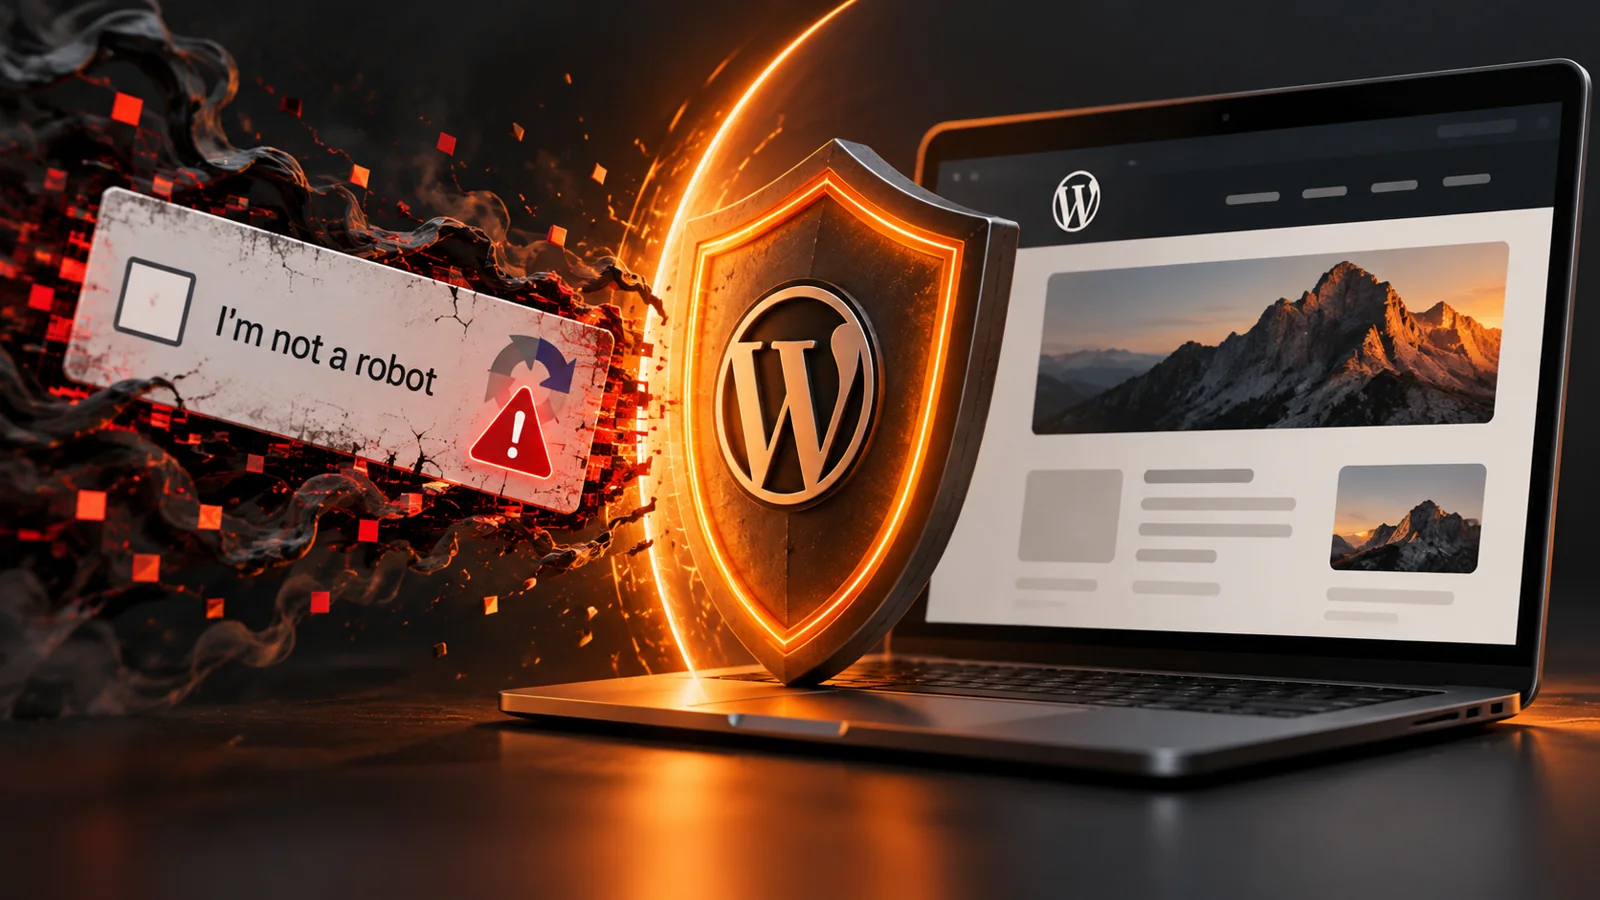
If your WordPress website suddenly displays an unfamiliar “I’m not a robot”, fake CAPTCHA, verification page, popup or redirect that you never added, your site may have been compromised. To remove I am not a robot malware from a plugin-based infection, back up the site, temporarily isolate plugin loading, identify and remove only the confirmed malicious plugin, restore legitimate plugins, then scan, secure and retest the website.
This is different from a legitimate Google reCAPTCHA integration. Fake CAPTCHA malware can be injected through a compromised plugin, malicious file, vulnerable WordPress installation, stolen credentials or another infected component. Never paste a command into Run, Terminal or PowerShell because a verification page asks you to.
We recently dealt with this type of WordPress infection. In that case, the malicious component was hidden inside the website files and was not visible as a normal plugin inside the WordPress dashboard. Here is the basic cleanup process we used. It applies when a malicious plugin is responsible; it is not a guarantee that every infection can be removed this way.
Before You Start: Create a Backup
Before deleting or renaming anything, create a complete backup of the WordPress files and database, including wp-content and wp-config.php. If possible, download it outside the infected hosting account. Label it as a backup of the compromised site: it is a recovery and investigation copy, not a clean restore point.
Record the plugins your site uses and plan a short maintenance window. Temporarily disabling plugins can interrupt forms, checkout, security tools and parts of the design. Do not permanently delete the entire plugins folder.
Step 1: Log In to Your Hosting Account
Log in to your hosting control panel and open the website’s File Manager. Depending on your hosting provider, your WordPress installation may be inside public_html or another domain-specific directory. Confirm that you are working on the correct website, then open the WordPress installation and locate wp-content.
Step 2: Temporarily Rename the Plugins Folder
Inside wp-content, find the folder named plugins. Rename it temporarily to plugins_old, so its path becomes wp-content/plugins_old. Do not overwrite another existing folder with that name.
Why do this?
This temporarily prevents WordPress from loading ordinary plugins in that directory. If a malicious plugin or injected plugin code is triggering the fake CAPTCHA, disabling plugin loading can help you regain control of the dashboard and isolate the problem. WordPress documents this folder-renaming method in its plugin troubleshooting guidance.
This does not disable must-use plugins in wp-content/mu-plugins, nor does it remove database injections, theme infections or server-level persistence. If the problem remains, do not assume the site is clean or keep deleting folders at random.
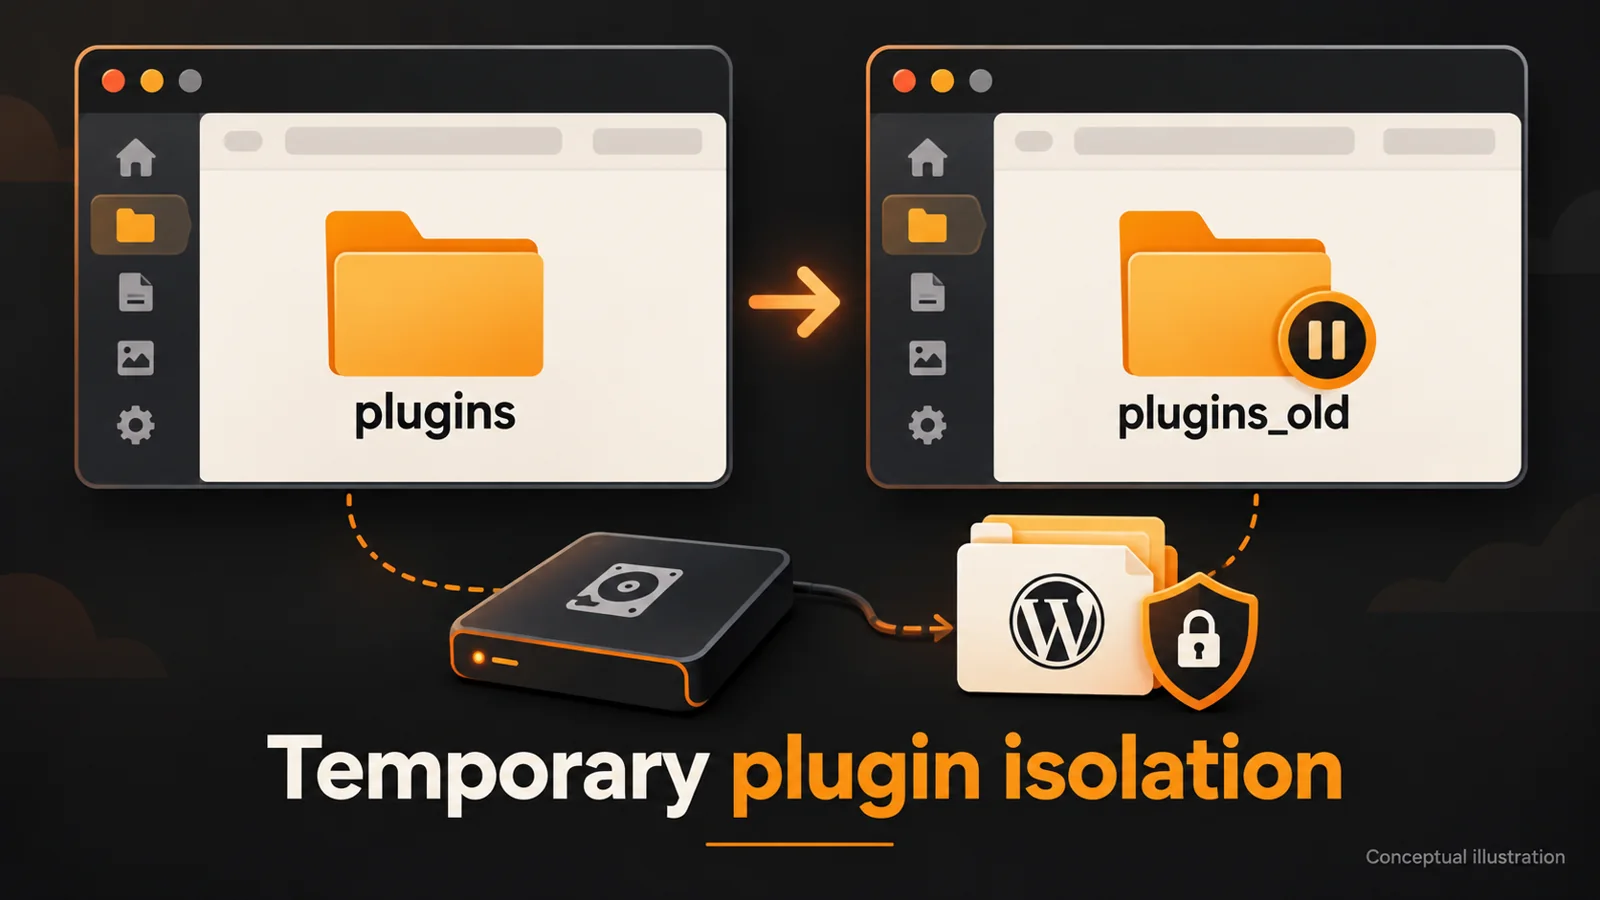
Conceptual illustration: temporarily rename the folder; do not delete the entire plugin directory.
Step 3: Check WordPress Admin
Return to WordPress Dashboard → Plugins and refresh the Installed Plugins page. WordPress should report that the ordinary plugins have been deactivated because their files are unavailable. This confirms that the original plugin directory is no longer being loaded.
If the admin dashboard still cannot be accessed, or the fake verification screen persists, deeper investigation may be needed. The folder rename is an isolation step, not proof that the infection has been removed.
Step 4: Inspect the Plugin Files From Hosting
Return to your hosting File Manager and inspect the renamed plugins_old folder. Look carefully for plugin directories you do not recognize, never installed, or cannot match to your legitimate plugin inventory. Recently created or modified files and directories missing from the dashboard can be useful clues, but none proves malware on its own.
What we found in our case
In the infection we handled, suspicious plugin directories used names resembling HSEO or wordpress-seo. The malicious plugin was not behaving like a normal plugin displayed in the admin interface. These names are not universal indicators of malware.
Important: wordpress-seo is the normal folder name of the legitimate Yoast SEO plugin. You can verify its identity against the official Yoast SEO listing. Never delete Yoast, HSEO or any other directory based only on its name. Malware can imitate a legitimate plugin, and a legitimate plugin can also contain modified files.
Check the plugin files, modification dates, header information, installation history and source. Compare the suspect files with a clean copy from the official repository or trusted vendor, and review scanner findings. Headers and timestamps can be falsified. Do not run an unfamiliar file to test it. If you cannot confirm what it is, preserve a copy and ask for an expert review.
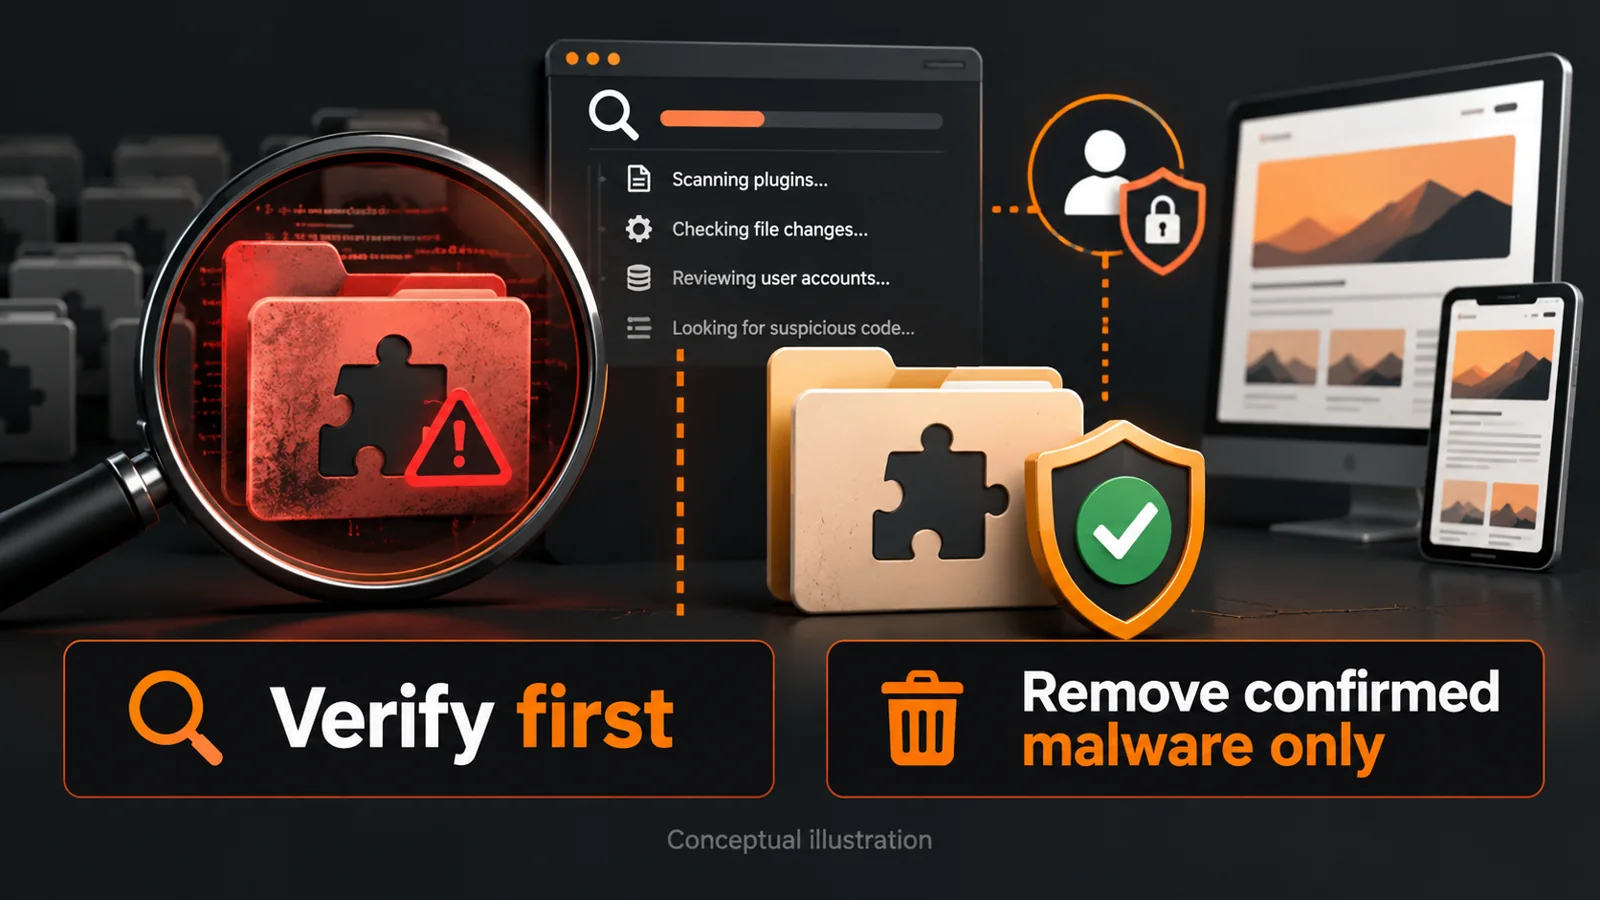
Conceptual illustration: verify the evidence before removing a plugin.
Step 5: Remove the Confirmed Malicious Plugin
Once the evidence confirms that a plugin directory is malicious, preserve an investigation copy outside the public web directory where possible, then delete only that confirmed malicious plugin directory from the active installation.
Do not randomly delete WordPress files or legitimate plugins. Malware cleanup should remove the malicious component without damaging the working website. If a legitimate plugin has been modified, replacing it with a clean official copy may be appropriate after checking settings and compatibility.
Step 6: Restore the Plugins Folder
After removing the malicious directory, rename plugins_old back to plugins. Return to Plugins → Installed Plugins and reactivate the legitimate plugins your website actually needs, one at a time. Do not activate unknown plugins.
Check the website after each activation. If the fake CAPTCHA or redirect returns, stop and investigate the last activated component and any remaining backdoor rather than repeatedly reactivating everything.
Step 7: Install Wordfence and Run a Scan
Go to Plugins → Add New, search for Wordfence Security and install the free version from the official WordPress plugin repository. Activate it, complete its setup and run a complete Wordfence scan.
Review warnings about modified core files, suspicious or unknown files, malicious URLs, injected JavaScript, vulnerable plugins and outdated plugins or themes. Do not automatically delete every flagged file without checking what it belongs to. A clean scan is useful evidence, but no single scanner guarantees that the database, credentials and every backdoor are clean.
Step 8: Update WordPress, Plugins and Themes
Once the immediate malware has been removed, update WordPress core, legitimate plugins, themes and security plugins from trusted sources. Use a backup and test updates carefully; replacing software can overwrite custom changes. Remove unused plugins and themes only after confirming they are not required.
Unused vulnerable software can give attackers another way back into the website. When reviewing how the site was built, our custom website development guide provides context for separating required site functionality from unnecessary additions.
Step 9: Review Administrator Users and Change Passwords
Open Users → All Users and check administrator accounts. Confirm unfamiliar users with the site owner before removing them; do not remove legitimate staff or collaborators simply because you do not recognize their names.
After a compromise, change important passwords from a trusted device, including WordPress administrator, hosting, FTP/SFTP and associated administrator email accounts. Review database credentials if they may be exposed. Changing a database password requires coordinated configuration updates, so get qualified help rather than changing it in isolation and breaking the connection.
Use strong, unique passwords, enable two-factor authentication where supported and review active sessions. If an attacker still has account access, deleting one malicious plugin may not prevent reinfection.
Step 10: Test the Website While Logged Out
Do not only check the site while logged into WordPress. Attackers sometimes configure WordPress redirect malware to behave differently for administrators. Test in an incognito/private session, another browser and on a mobile device.
Check the homepage, blog posts, service pages, Contact page and several other internal pages. Verify that the fake CAPTCHA, popup or redirect no longer appears. After preserving evidence and cleaning the infection, clear relevant site/CDN caches through their normal controls and repeat the logged-out tests.
Retest forms and other plugin-dependent functions too. Our small business website guide explains why a working contact path matters alongside the rest of the website.
What If the Malware Comes Back?
Deleting one malicious plugin may resolve a basic infection, but it does not guarantee the entire website is clean. More advanced infections may modify the database, wp-config.php, .htaccess, theme files, WordPress core files, uploads, must-use plugins, scheduled tasks, administrator accounts or database options. JavaScript loaded from external domains may also be involved.
Attackers may leave a backdoor that restores the infection after the visible malware is removed. If fake reCAPTCHA malware returns, stop repeating the same deletion and investigate the entry point and persistence mechanism. Deeper cleanup may require file comparisons, database review, hosting logs and clean official replacements. Do not edit configuration, theme or core files blindly.
Why You Should Not Randomly Delete WordPress Files
A WordPress installation contains many legitimate files. Removing the wrong file can break the site, plugins or dashboard, create PHP errors or cause data loss. Always confirm what a file belongs to before deleting it. A suspicious name is a reason to investigate, not permission to delete.
How to Reduce the Risk of Reinfection
- Keep WordPress, plugins and themes updated through trusted sources.
- Remove unused software after checking that it is not required.
- Avoid nulled or pirated plugins and themes.
- Use strong unique passwords and two-factor authentication where possible.
- Keep regular off-site backups and confirm they can be restored.
- Use a security scanner and review its findings.
- Limit administrator accounts to people who need that access.
- Keep the hosting account secure and investigate how the attacker got in.
Frequently Asked Questions
Why does my WordPress website show “I’m not a robot”?
If you did not intentionally add the verification screen, it may come from injected JavaScript, a compromised plugin, malicious redirect code or another infection. First check whether your hosting/security provider or a legitimate CAPTCHA integration is responsible. An unexpected screen alone is a warning to investigate, not a complete diagnosis.
Is every “I’m not a robot” page malware?
No. Legitimate CAPTCHA systems are widely used. Warning signs include an unfamiliar verification screen, unexpected redirects, requests to enable browser notifications or instructions to paste and execute commands. Never run commands supplied by a CAPTCHA page.
Should I delete the wordpress-seo folder?
Not based on its name. wordpress-seo is the legitimate Yoast SEO folder. Verify the installation and compare files against the official plugin before removing anything. Delete only a confirmed malicious component; get help if the evidence is unclear.
Does renaming plugins remove all malware?
No. It temporarily stops ordinary plugins in that directory from loading. Must-use plugins, database injections, theme/core infections and backdoors may remain. Restore the original folder name after the verified cleanup and reactivate legitimate plugins carefully.
Can Wordfence completely remove the malware?
Wordfence can detect many malicious or modified files and help with investigation. No single plugin guarantees complete WordPress malware removal. Database infections, stolen credentials, custom backdoors or hosting-level issues may require further review.
Why does the malware return after I remove it?
Another compromised component, attacker account or backdoor may still exist. The visible malicious plugin can be only one part of the infection. Investigate persistence and the original entry point.
What if a visitor followed the fake CAPTCHA instructions?
Cleaning the website does not clean a visitor’s computer. If someone ran a command from the fake verification page, they should seek device-security assistance and treat that device as potentially compromised. Do not use it to change sensitive account passwords until it has been assessed.
Should I reinstall WordPress?
Replacing compromised core files with clean official copies can help in some infections, but do not overwrite or delete the site blindly. Back up first and identify what was compromised. Replacing core files alone will not remove an infection in the database or another component.
Still Seeing the Fake CAPTCHA?
The steps above are the basic cleanup process we use when a malicious plugin is responsible. If the infection also reaches the database, WordPress configuration, .htaccess, themes, core files or a backdoor, deeper cleanup may be required.
Need Help Removing WordPress Malware?
Nerdzilla Tech can investigate deeper infections involving files, the database, configuration, plugins and WordPress security. We can review what is causing the fake “I’m not a robot” page or redirect and the cleanup required.
Many standard cleanup cases can often be handled within 2–3 hours after access and investigation, depending on severity. This is not a guaranteed completion time. We aim to keep pricing reasonable based on the actual cleanup required.